Niche rear walls
in an individual design
A customised niche back panel is the eye-catcher in every kitchen. Thanks to our online configurator, personal favourite motifs or our attractive suggestions can be easily and safely applied to the material and used in the ordering process.

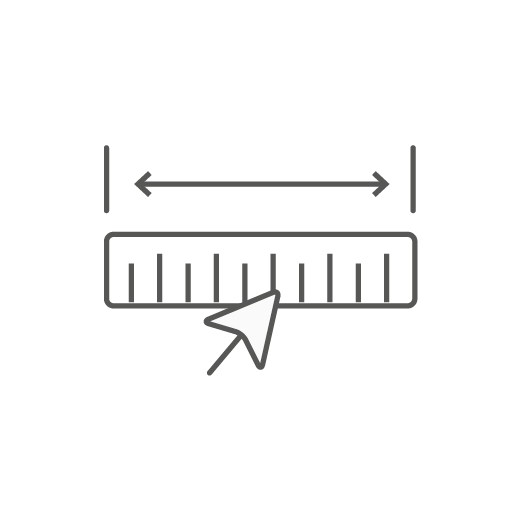
Step 1:
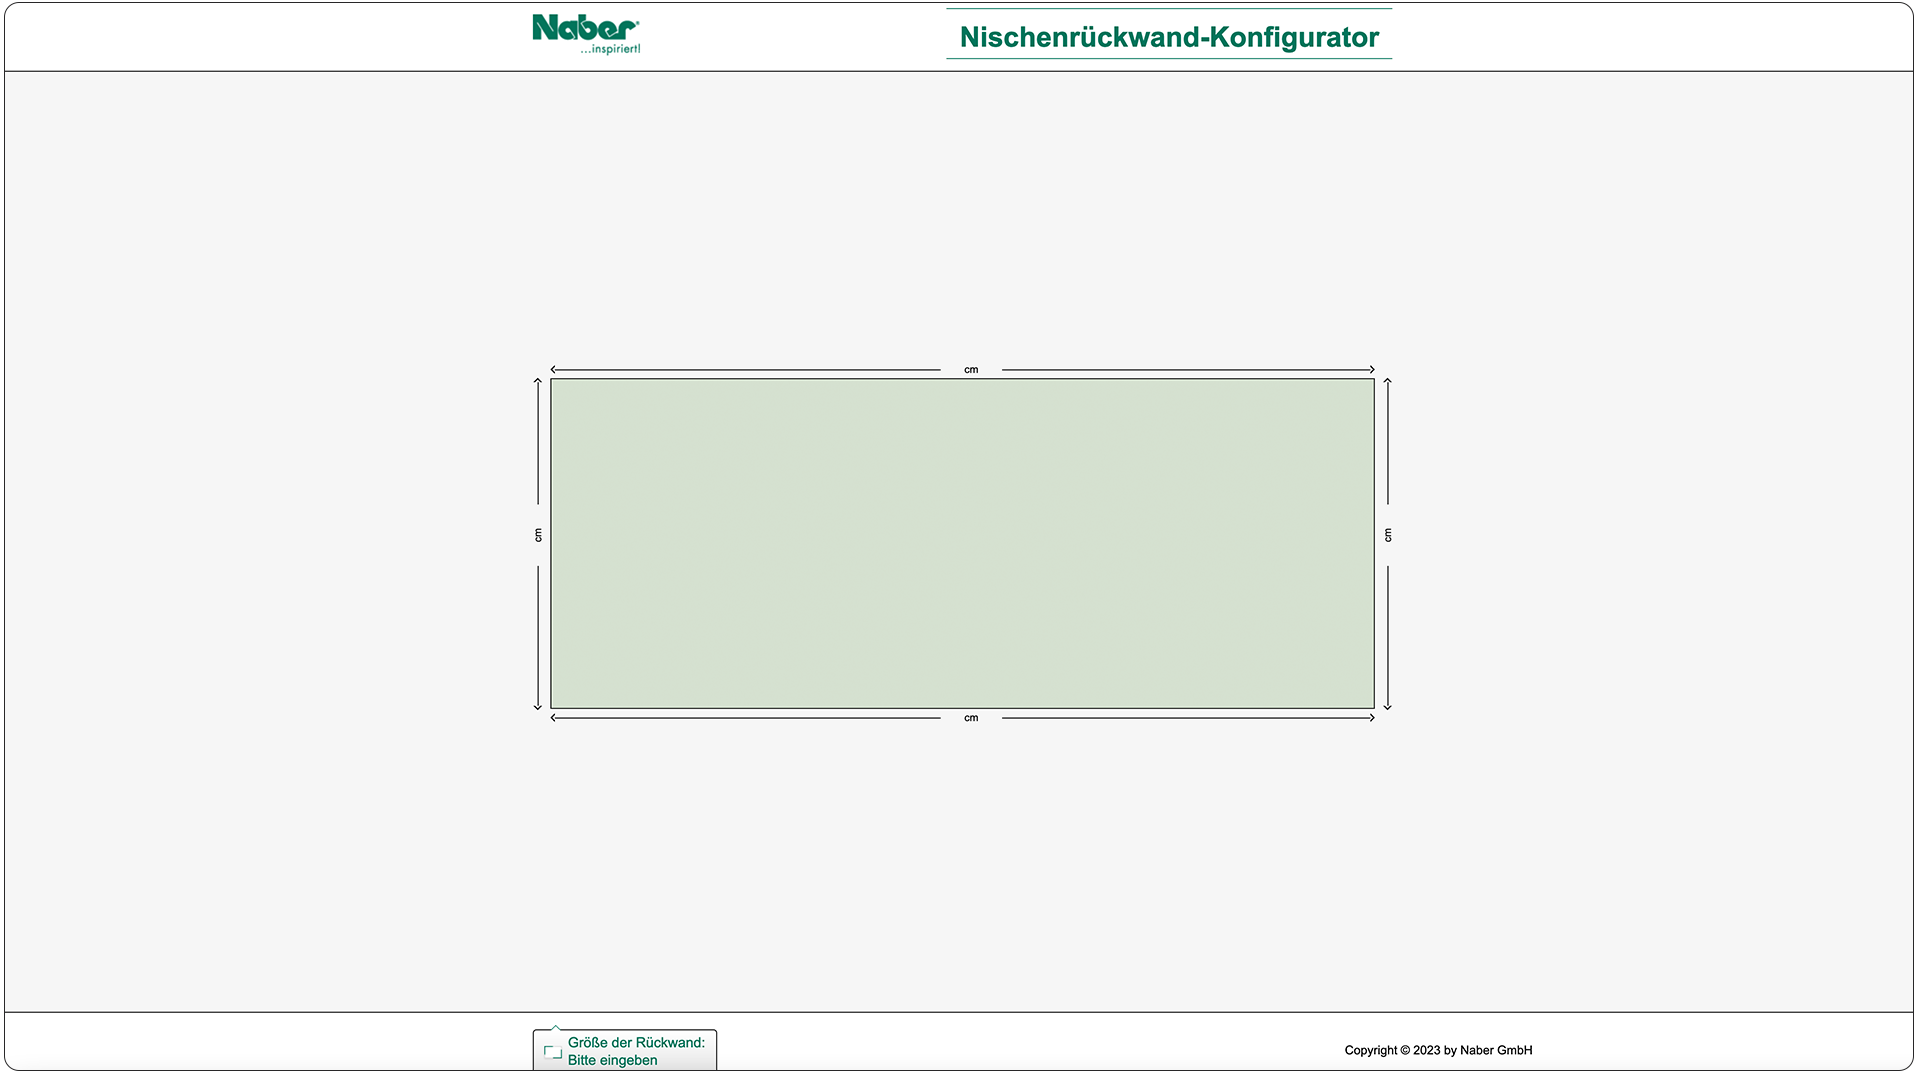
Design dimension of the
niche back panel
and define it exactly
Please enter the rectangular dimensions of the niche back panel in cm (width × height) as determined by measurement or planning. The minimum format is 20 × 10 cm, the maximum format 305 × 70 cm. You can define vertical dividing cuts, e.g. for corner solutions, by moving the cut mark position with the mouse or by entering the exact dimensions manually.
Step 2:
Select motif(s) and load
the configurator
Click on "Motif" to choose from a variety of motifs from our ACCOMODA® image collection - or upload your own image file. Each image can be reduced, enlarged or its position changed using the simple navigation to the right of the image.
Important:
Please ensure that JPEG image formats are processed by us in the CMYK or RGB colour spaces when uploading your own motifs.
RGB data is converted into CMYK data for printing, which can lead to visible colour deviations in the respective image. An image resolution of 300 dpi is recommended for images up to the print format 60 × 85 cm. 200 dpi is sufficient for larger print formats. When using smaller image formats in the configurator, we require the original digital image for production.
Please be sure to comply with the respective copyright and copyright regulations for the motifs you provide.

Step 3:
Generate markers
Provided you have created separations, you can have the cut-outs generated as a preview. Use this preview function to check and evaluate the cut-outs you have generated. It is not binding for the image quality and merely illustrates the overall visual impression. The generated image files can be printed or saved for further use in your planning software, if necessary.


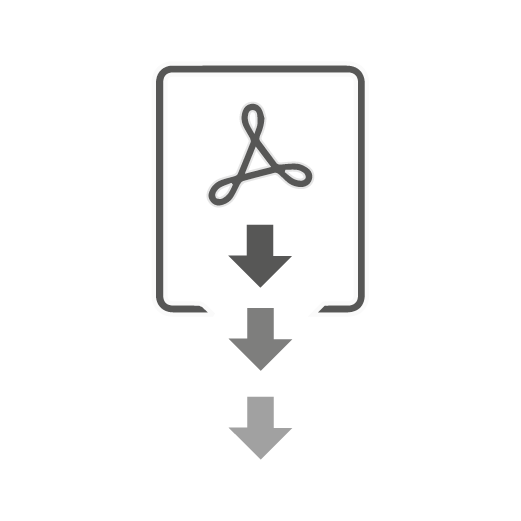
Step 4:
Finalise configuration
Complete the configuration with the "Generate order" function and receive an operation number. The final configuration with all data can be downloaded as a PDF file.
Contact your Naber contact person (after your check) with the process number or the PDF file in order to place the order.

Should you have any queries regarding the configurator or the image layout or image processing, please contact your responsible sales office..
The configurator links your individual motif selection with the defined dimensions at the click of a mouse. You will be guided by a simple navigation. The selected motif can be enlarged or reduced and the image position can be moved in any direction as desired. You can also add dividing lines and download the individual sections as jpg files for insertion into your planning software. No limits to your creativity!